Online Scheduling Instructions for Student Primary Care
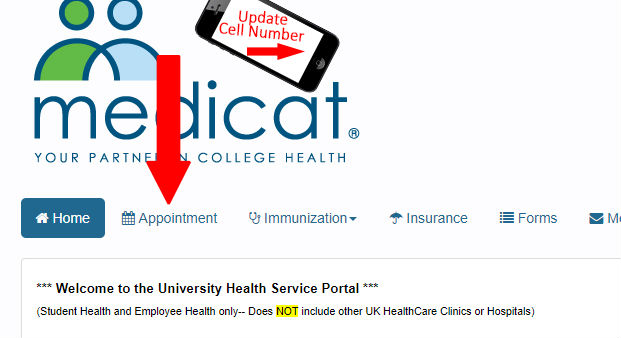
1. Log in using your LinkBlue ID.
2. Schedule your appointment by clicking on the "Appointment" link on the tab bar at the top of the screen.
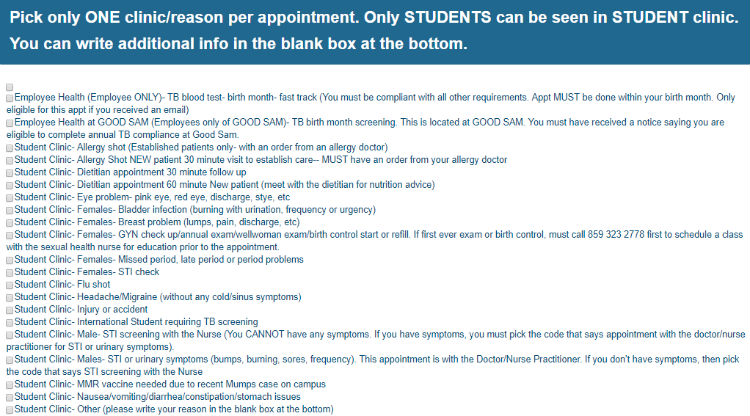
3. Scroll down and check the box on the left next to the clinic/reason code that matches the reason for your appointment. You can pick only one.
After you have made your selection, click "Submit" at bottom left of page.
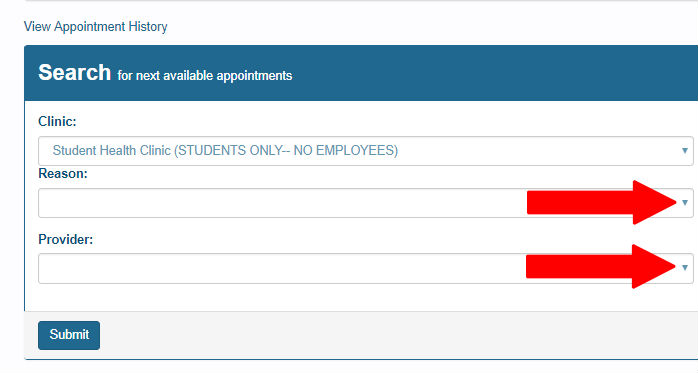
4. For "Reason," click on the down arrow at right to select the reason you chose on the previous screen. For "Provider," click on the down arrow at right to select the provider you want to see (or choose "All" if you have no preference). Click "Submit" at bottom left.
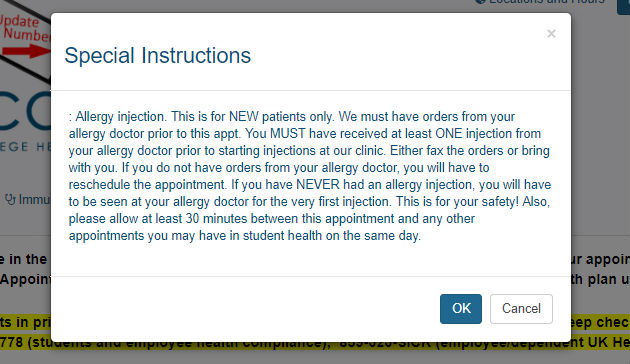
5. Read the "Special Instructions" related to the type of appoint you have selected, then click "OK."
6. The available appointments will display at the bottom of the screen. It might take a minute or so for these to appear. Click "Select" when you find one that works for you.
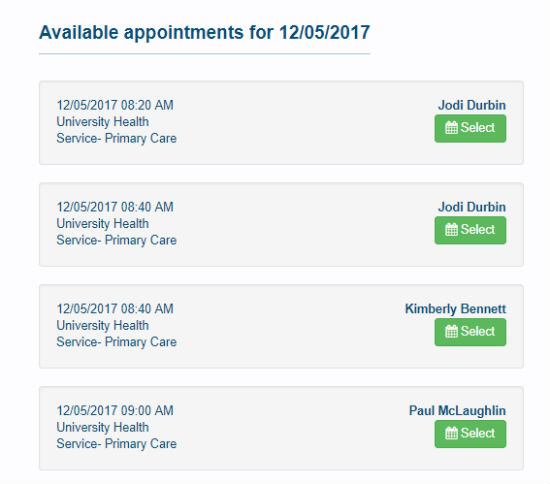
You can click on the calendar dates to see other date options.

If nothing meets your needs, call 859-323-2778 to speak with a scheduler.
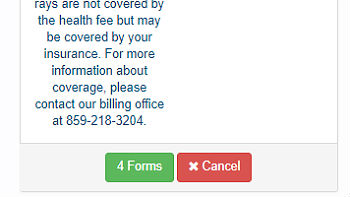
7. After you have selected an appointment, you might see a message that your appointment has been saved, along with instructions to "Please complete these forms before your appointment." Click on the link and complete the forms.
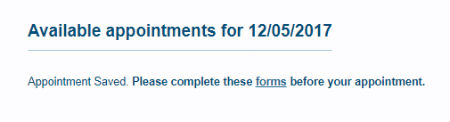
8. Complete and submit the forms.
9. You will receive an immediate email confirmation for your appointment after you select it.
10. Log out by clicking the red "Log Out" button at top right.
How to Cancel an Appointment
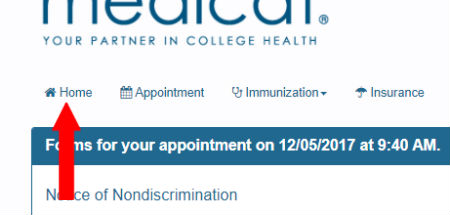
1. Click the "Home" link on the left-hand side of the screen.
2. Scroll to the bottom of the screen and find the appointment you wish to cancel.
3. Click the "Cancel" button. You will receive an immediate email about the cancellation.